You've heard the expression "
sometimes less is more", right? Well, in a sense, that's what today's post is all about. While not everyone has a professional, or even good amateur camera, almost everyone has a smartphone these days, and most seem to be Apple's iPhone. And surprisingly, the ubiquitous iPhone can be capable of quite good results, even when the original image that you take is not exactly stunning. In this post, we're going to take a look at what can be done with the iPhone and a few cheap, or even free apps, and a bit of work. While not everyone will particularly like the way that I "see" a finished image, I hope that it will at least inspire you to give this a try yourselves, Dear Readers, and see what is possible. OK, to work!
From our walk this morning on the Wild Pacific Trail, I shot the original image below with my iPhone 4:
I use an app called
Pro Camera 7 for my iPhone photography because it allows me to separately choose a focus point and an exposure point. This is very handy, especially if you want to keep the highlights from blowing out (no detail left). By choosing an exposure point in the lightest area of the frame, the shadows my go very dark, but they can (usually) be recovered quite nicely.
I composed the image so that the interesting little group of trees is in the upper right third, the little rocky promontory in the lower left third, and the wave connects these two focal points giving the eye a path to travel. By having a promenent foreground, we add a sense of depth to the image.
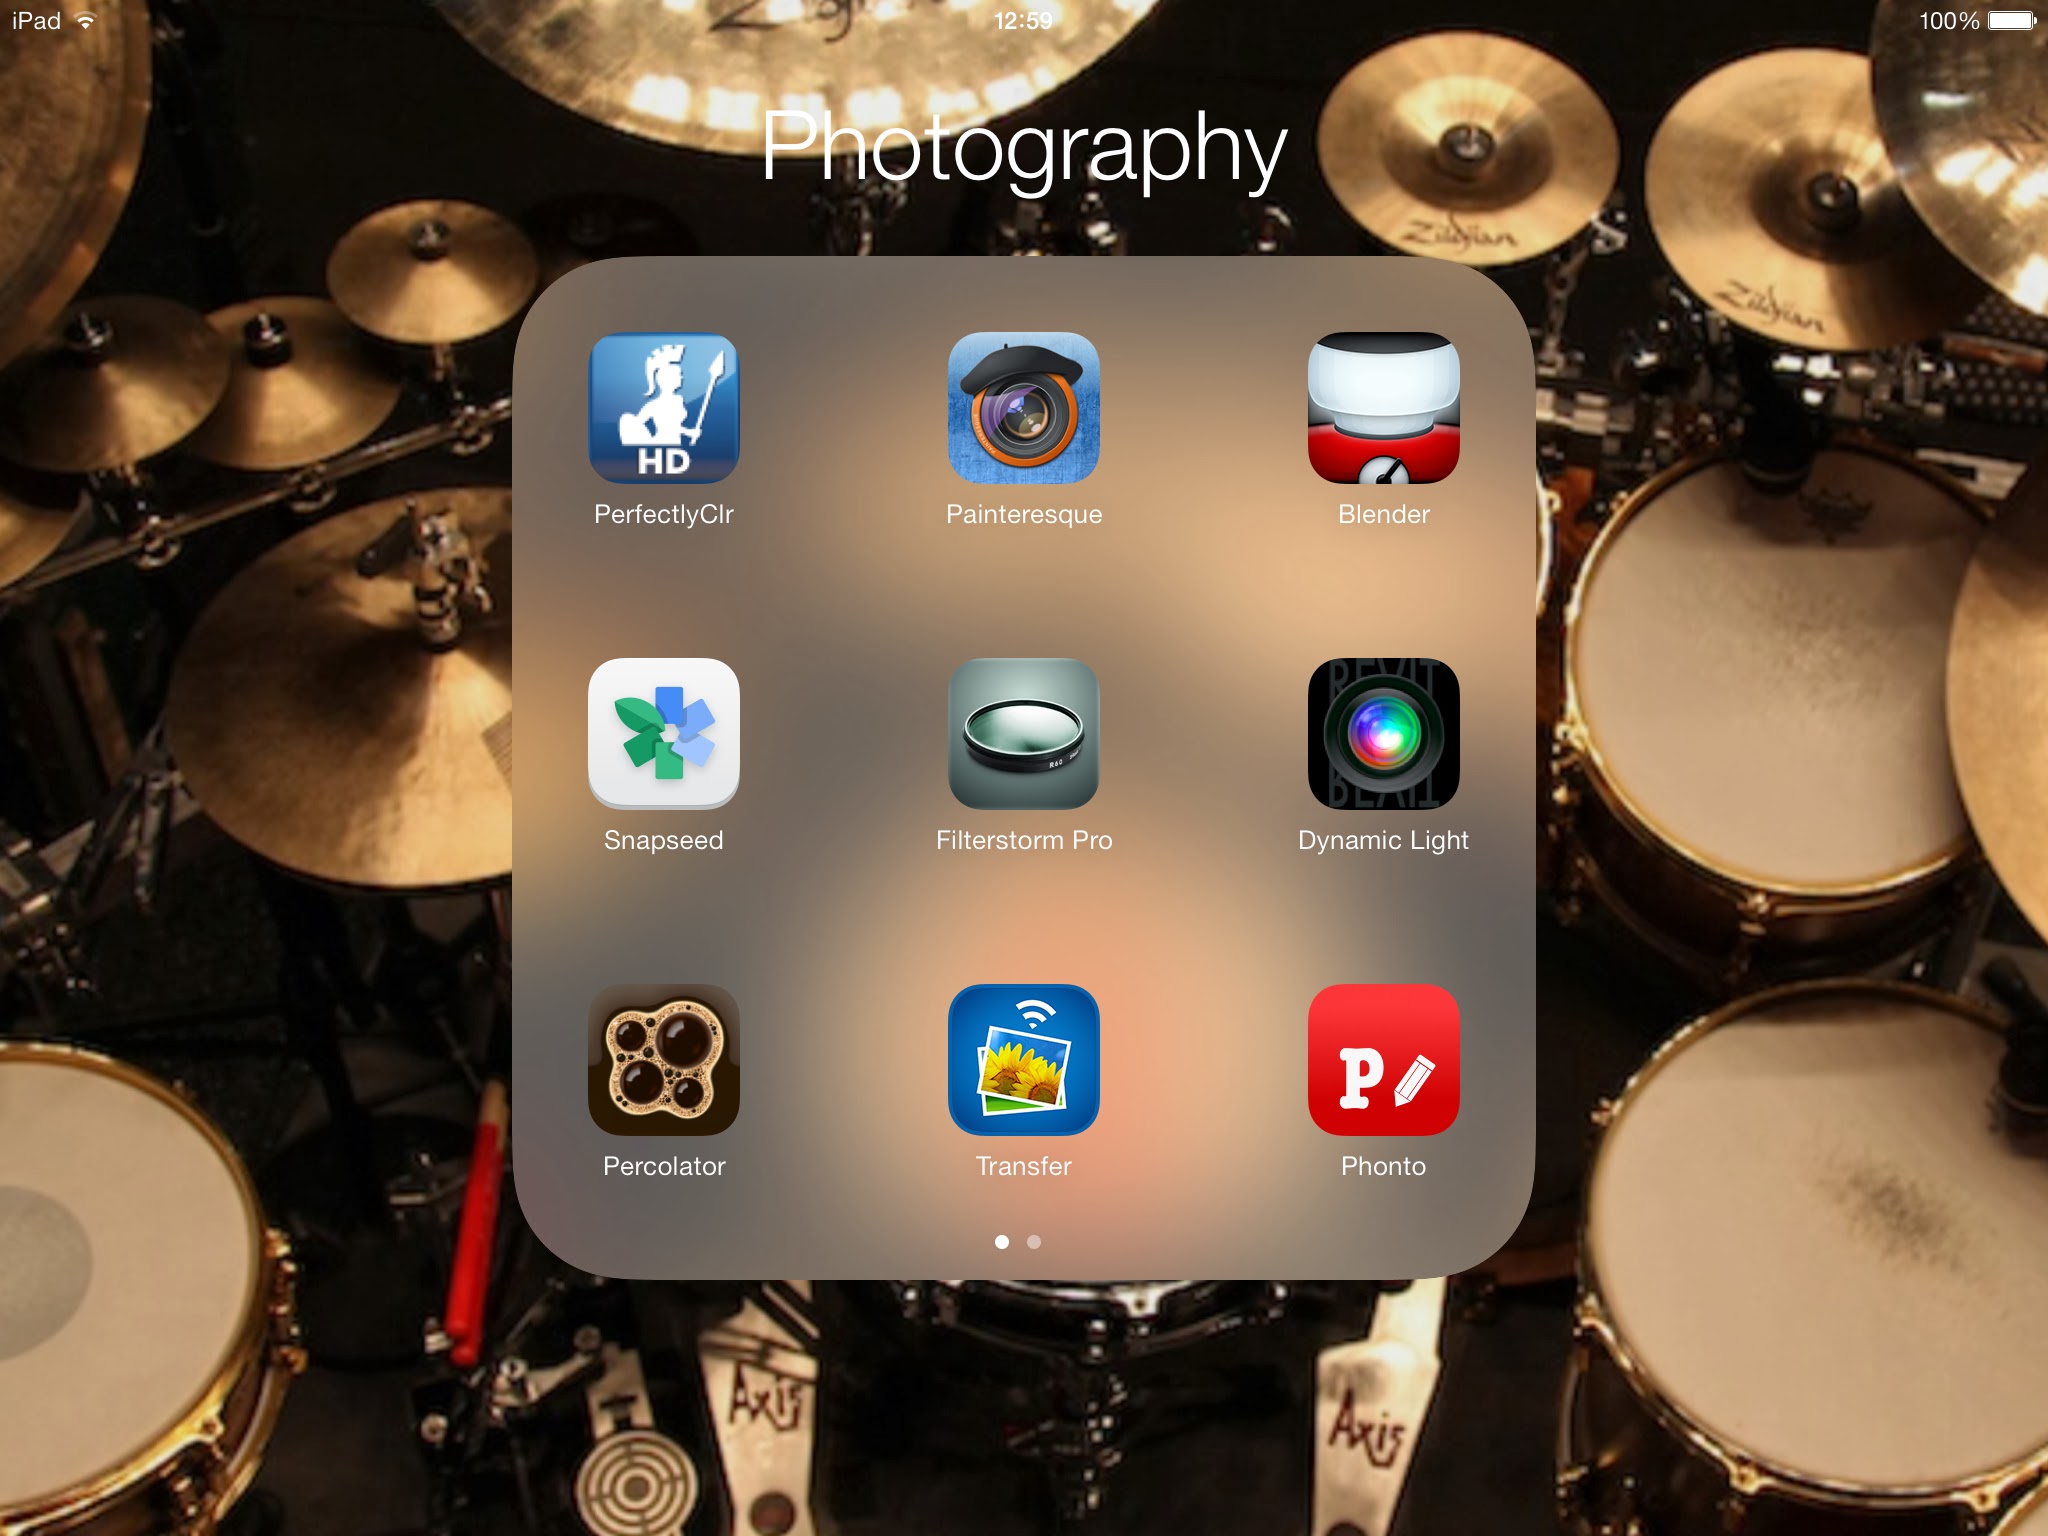
Now, before we go further, here is a screenshot of the apps that I use the most for my photography workflow on the iPhone and iPad. In point of fact, I usually use only the first four apps. While all these work on the iPhone, I typically transfer the images to my iPad in order to work more easily on a larger surface.
First up, I bring the image into the
Perfectly Clear app, which does a lovely job of overall tweaking the image to then use in other subsequent apps:
From here, after saving, I bring the image into
Snapseed, a wonderful free app from Google which has some very useful features for image manipulation.
Here, I'll use the
Selective Adjust option and add some adjustment points which allow me to selectively alter brightness, contrast ets for the area do colour that I've placed the point on. By using two fingers and pinching in/out, I adjust the size of the area that I want to be affected (as seen below).
Here, you see I've added a couple of points in the sky that I wish to decrease the brightness and increase the contrast to effectively darken the sky to add more drama and heighten any variations in the clouds.
I then add a couple more adjustment points to darken the sea and the increase the saturation of it to make the division of light and dark more promenent.
Having applied these changes, I then invoke the
Tune Image function and use it the alter the Shadows to brighten them up and then add some Ambiance.
Finally, I will increase the overall Saturation and we now see the resulting, saved image:
We could just leave to as is now and call it quits. We've improved it significantly from the original, quite flat image. If you're adventurous, however, there's a few more tricks we can pull out of our sleeves!
One very interesting app that I quite like, is called
Painteresque, and I often use it to really add some drama and detail (or
tooth, you might say) to an image.
I like this setting, but, it's a bit too much for my liking, so I save it, and then bring it into another app called
Blender which I then use to blend the Painteresque image with the one I had before inputting into Painteresque. By blending the two (to usually about 30%), I get what I think is a more reasonable result.
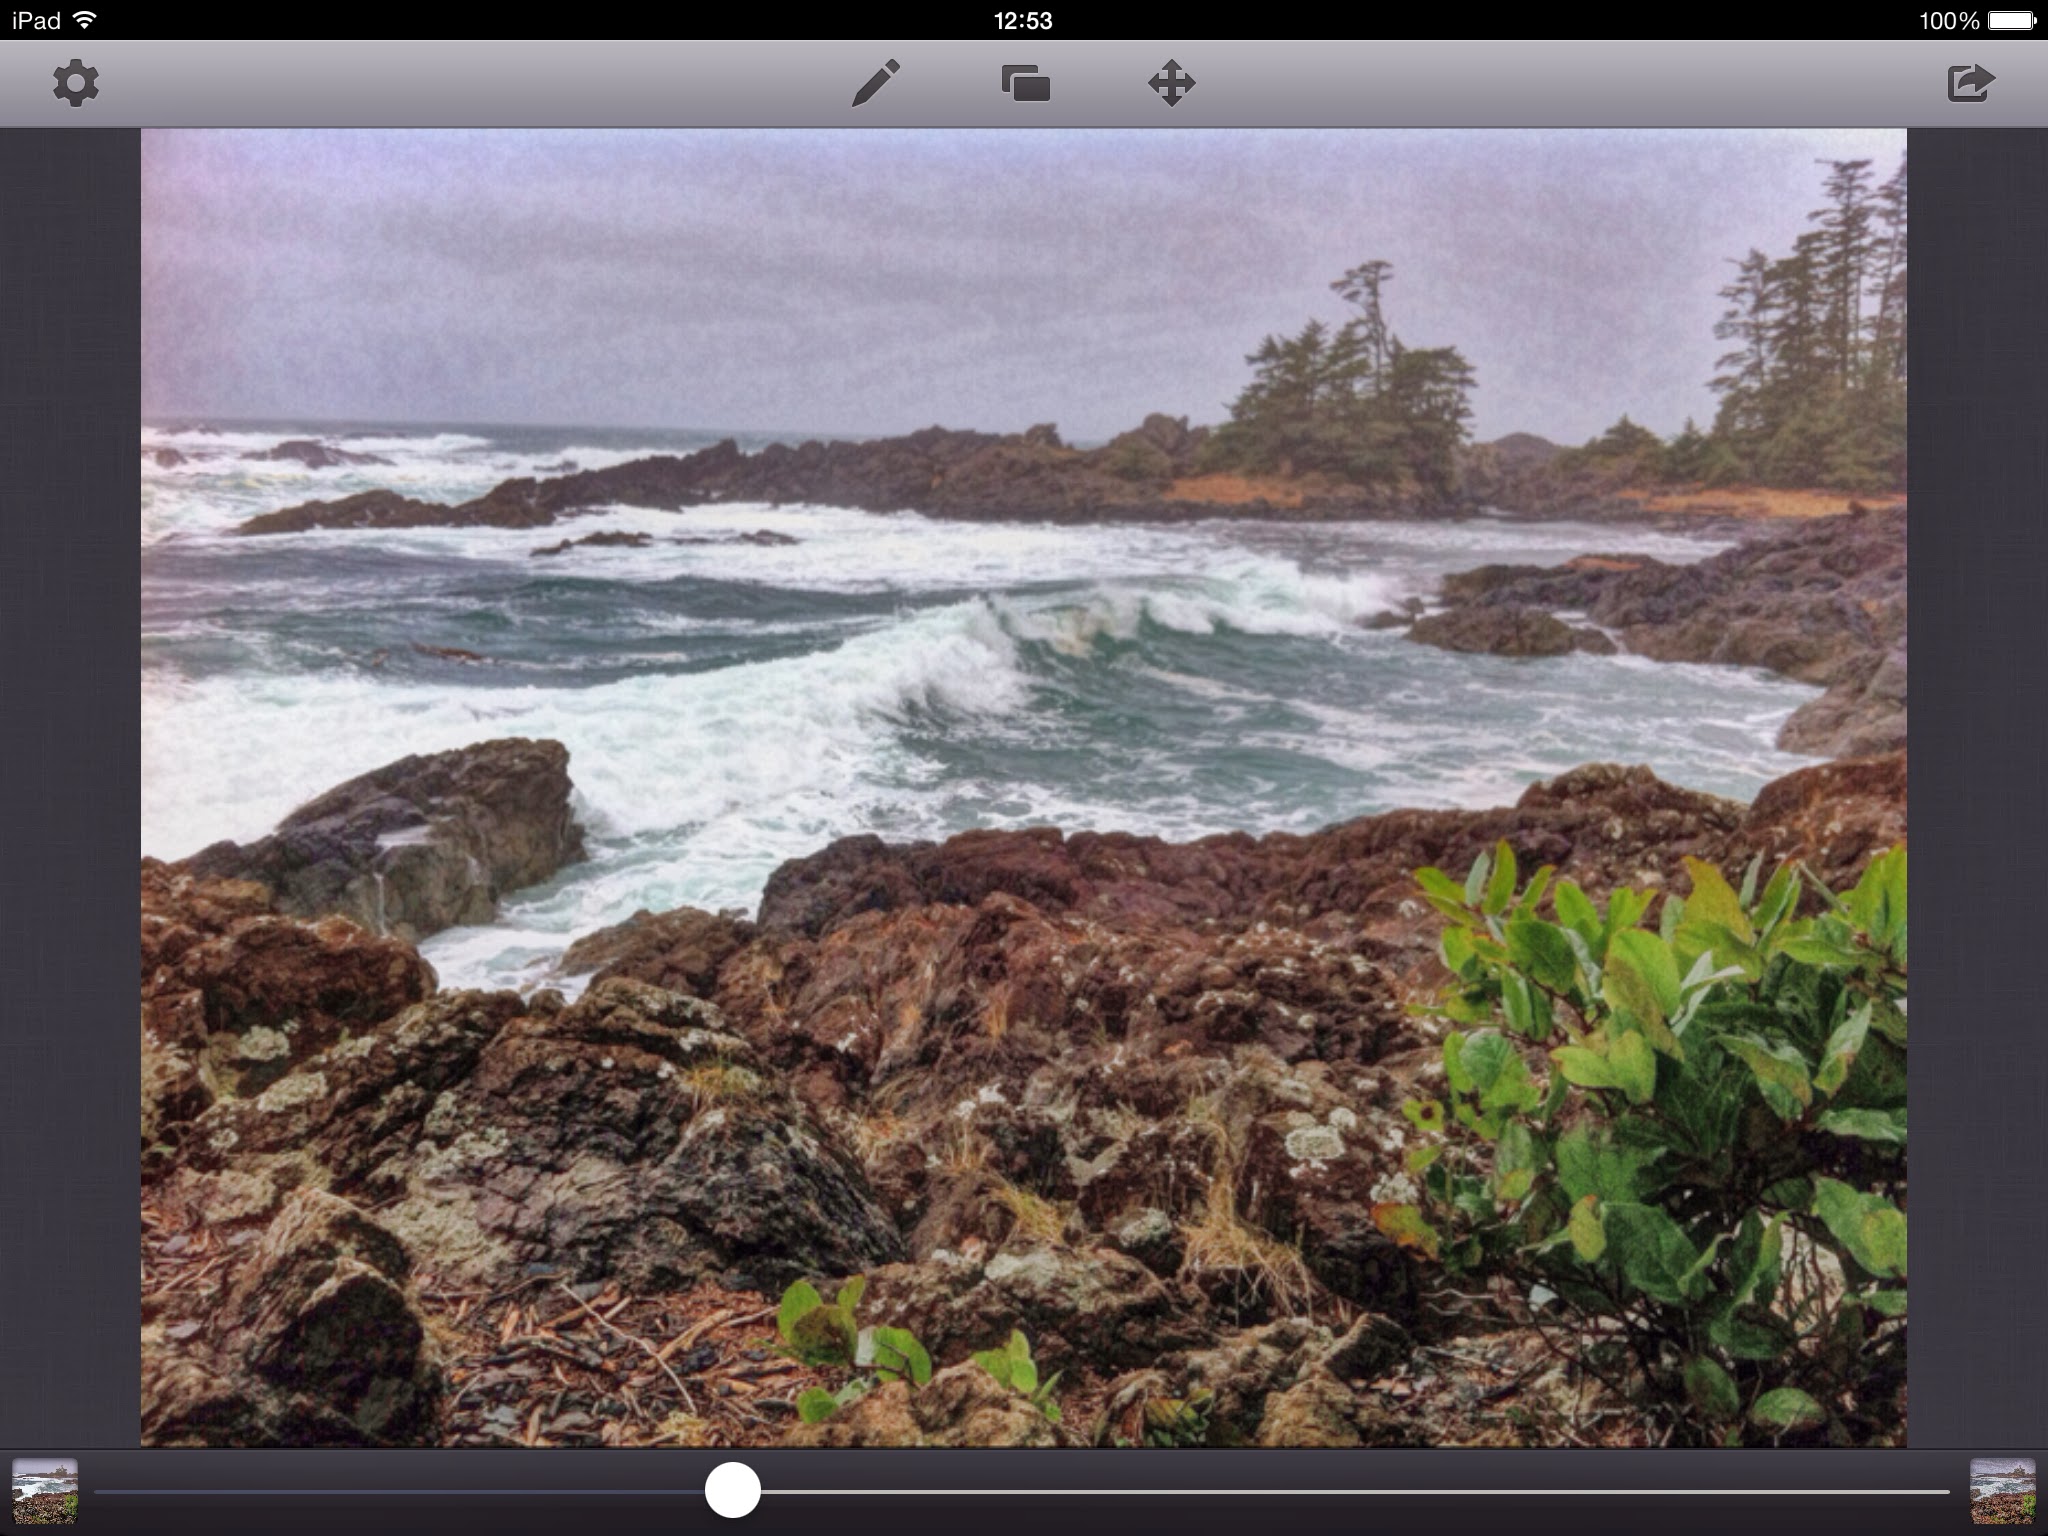
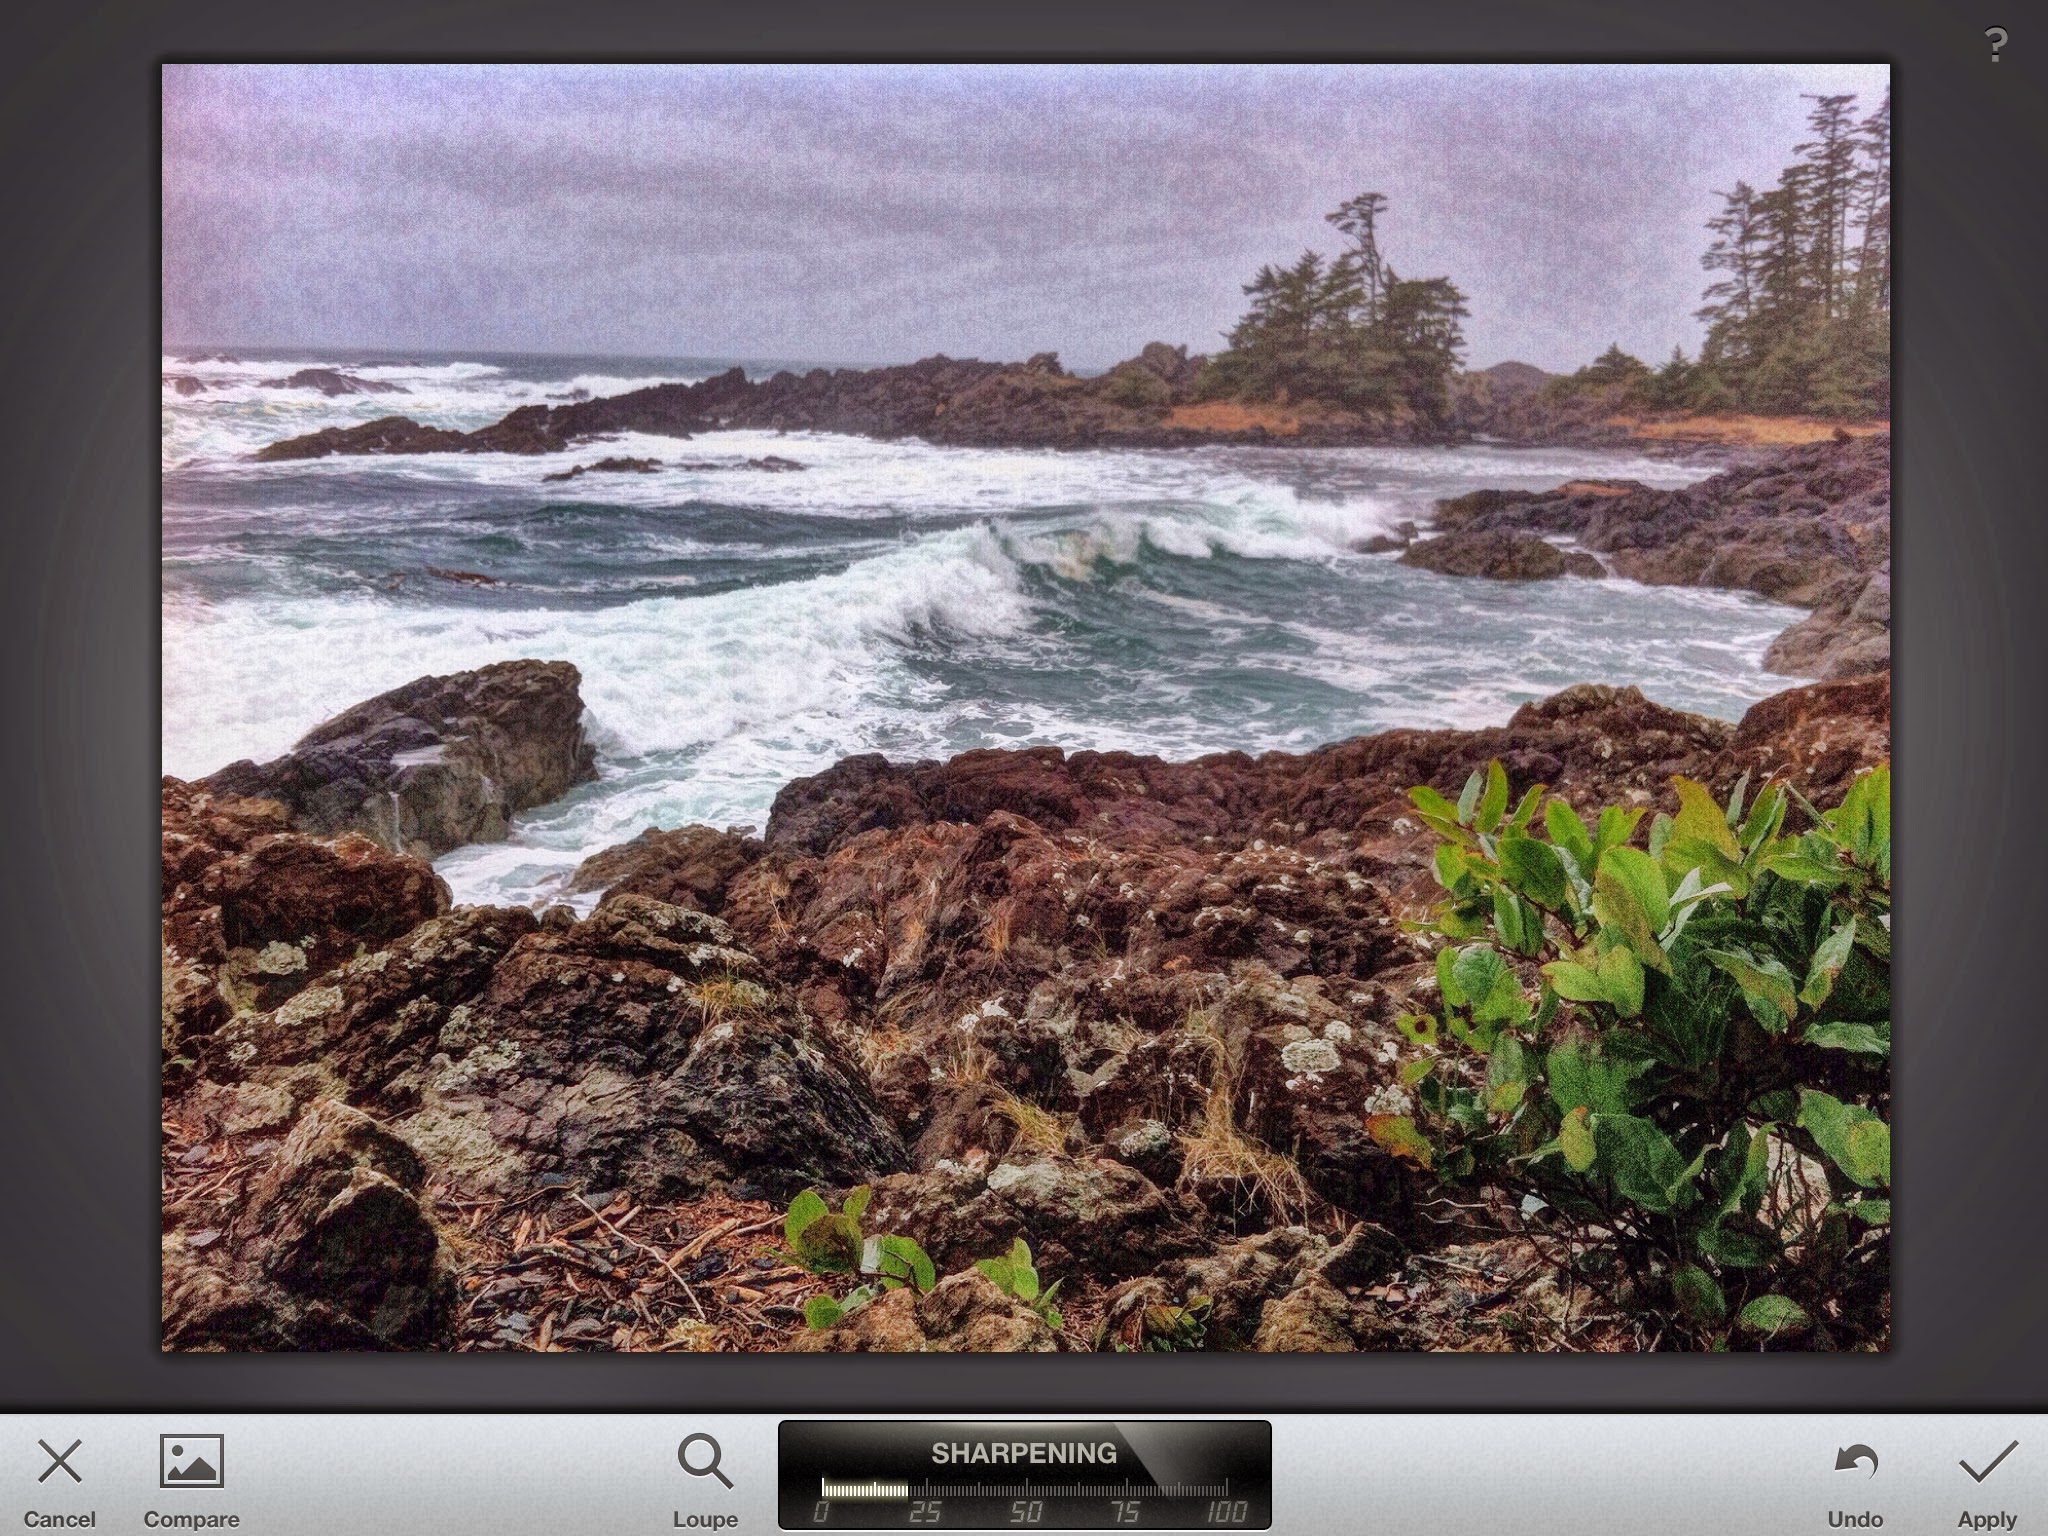
After this, I bring this image back into
Snapseed and use the
Details function to sharpen it up a bit (in this case by about 20%).
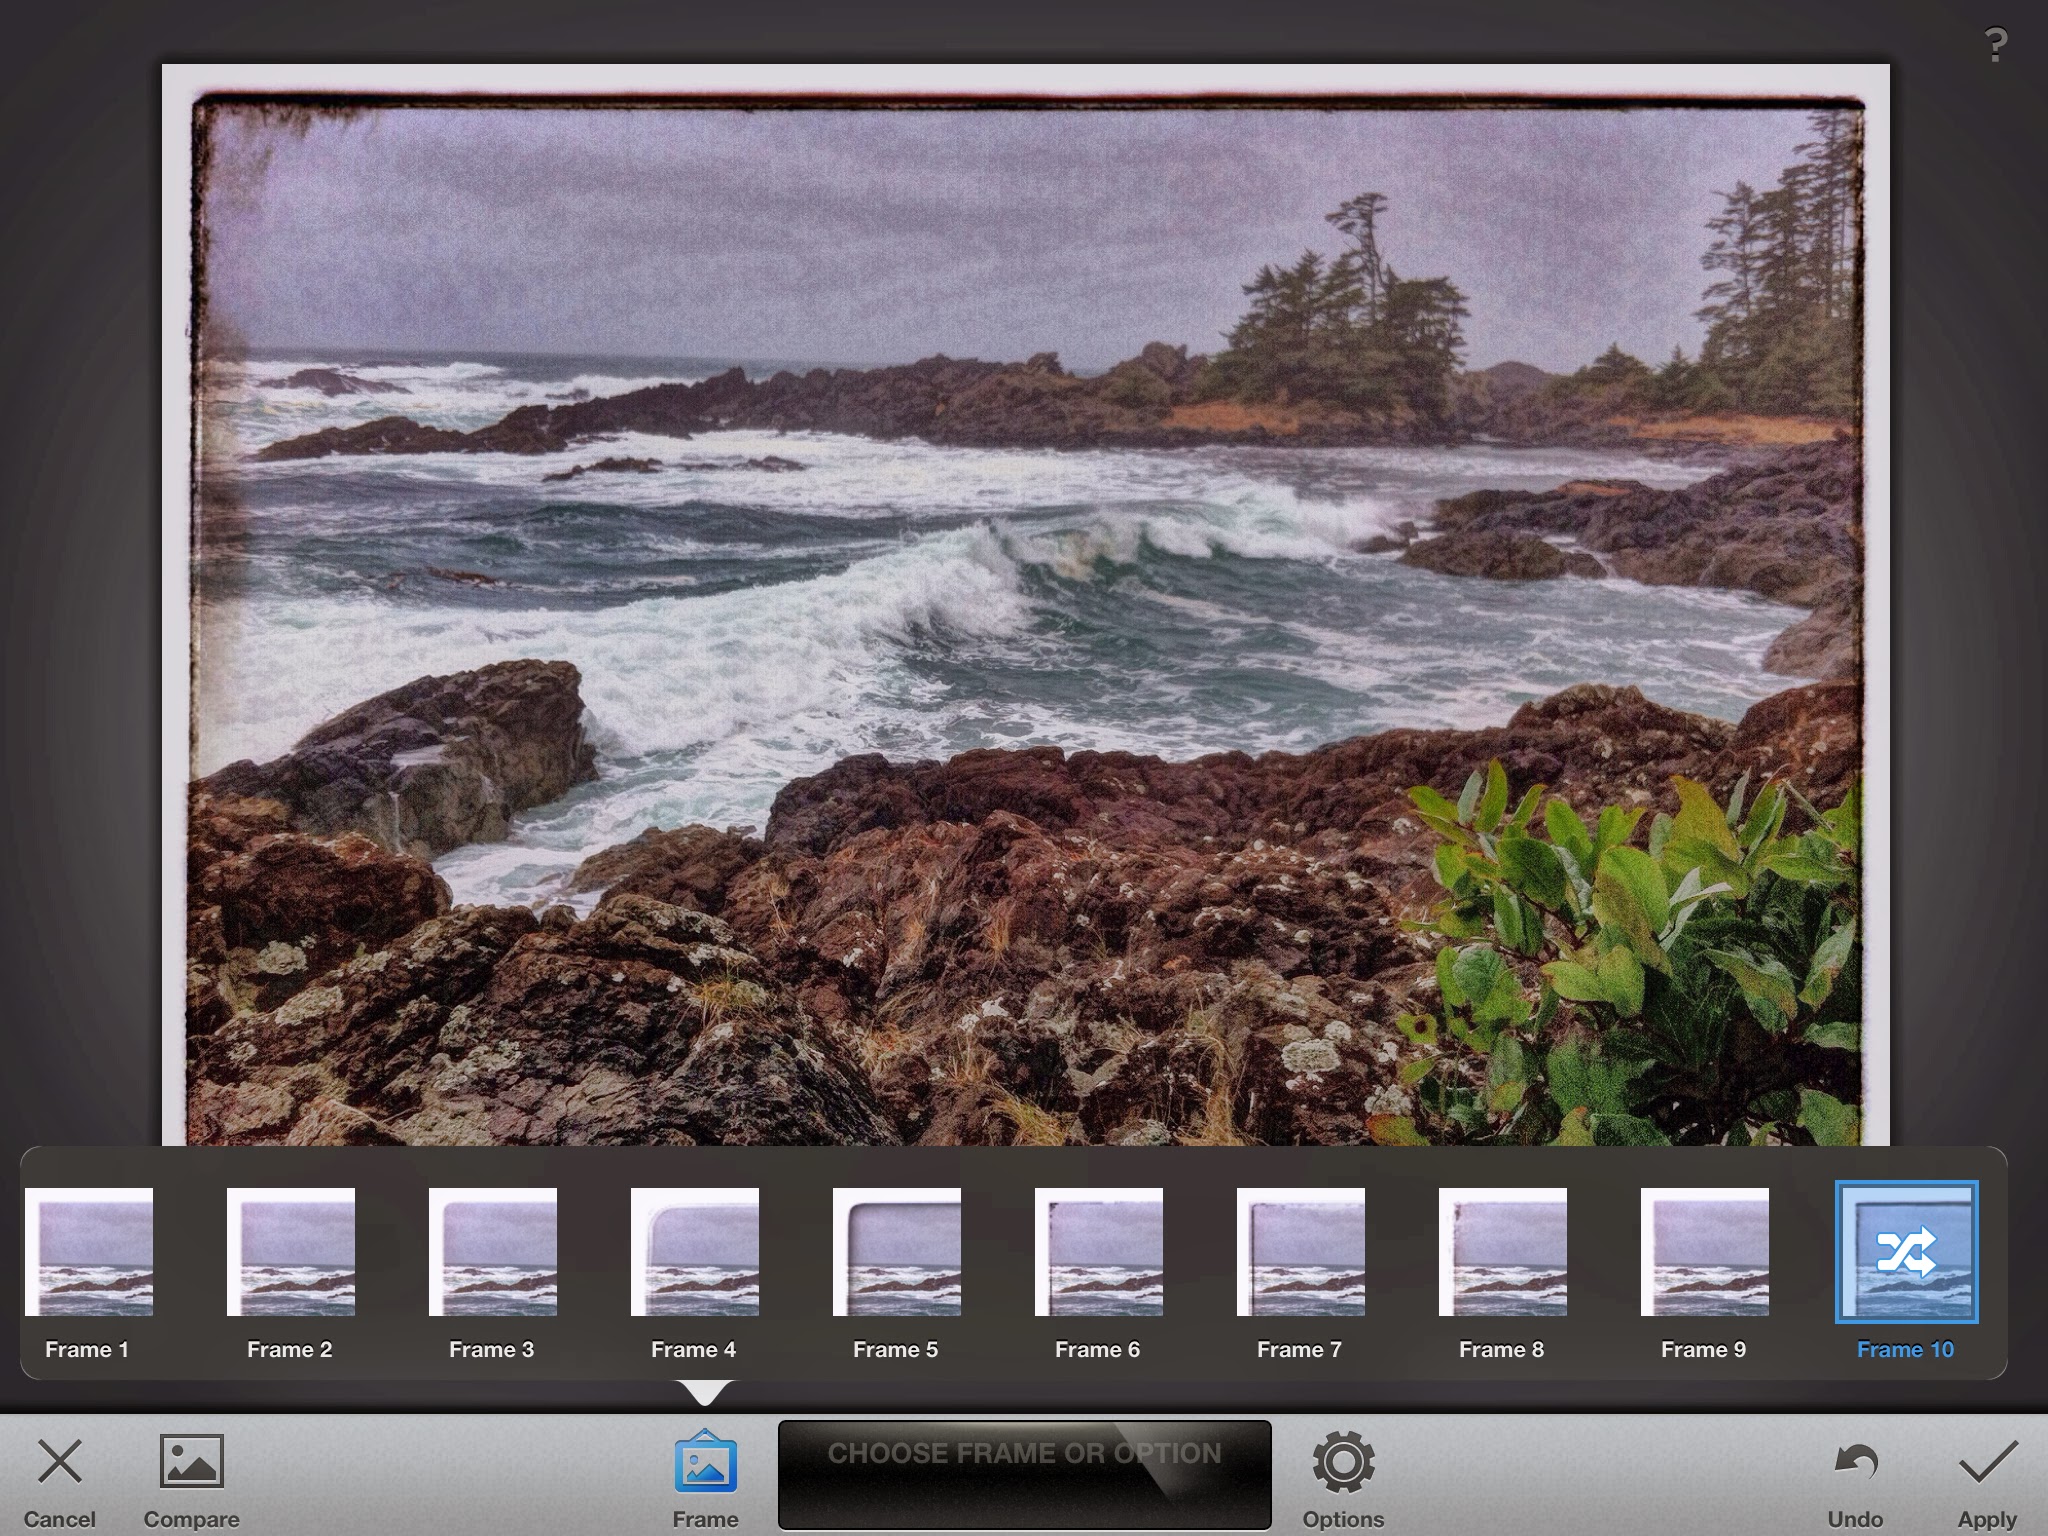
Finally, to top it all off, I apply a frame that I like.
So, after all this exciting work, we have our final image:
I hope you've enjoyed this little journey, and that you'll have the courage and tenacity to give this a try with some of your images. Photography has never been more accessible and cheaper. It's simply a matter of taking the time to try things out. You may be surprised with what you can do!
Cheers, and happy snapping!


No comments :
Post a Comment